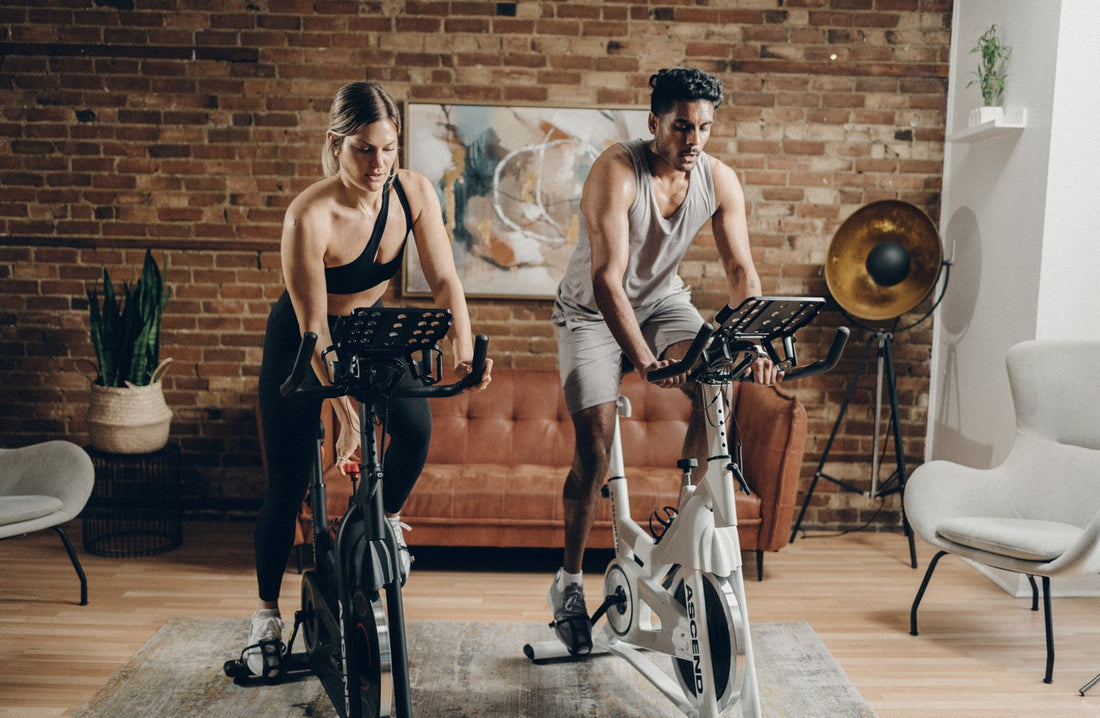
Need Help?
Creating a ticket is the fastest way to resolve an issue.
When it comes to resistance systems in stationary bikes, there are typically two main types:
The magnetic resistance system uses magnets to create resistance as you pedal. The resistance level is adjusted by moving the magnets closer to or farther away from the flywheel. One of the big advantages of magnetic resistance is its quiet operation.
The friction resistance relies on pads or brake pads that press against the flywheel to create resistance. Adjusting the resistance typically involves tightening or loosening these pads. Friction resistance can provide a more road-like feel since the resistance increases as you pedal harder, mimicking the experience of riding outdoors. However, it can be a bit noisier than magnetic resistance.
Magnetic vs Friction: Which Spin Bike Resistance is Best for You?
Installing pedals on a spin bike is a straightforward process. Here's a step-by-step guide to help:
Gather Necessary Tools: Typically, you'll need a pedal wrench.
Identify Right and Left Pedals: The pedals are marked with an "R" for right and an "L" for left. Make sure you're installing the correct pedal on each side.
Prepare the Bike: If there are old pedals on the bike, remove them by turning them counterclockwise. Remember, the left pedal (non-drive side) is reverse-threaded, so you'll need to turn it clockwise to remove it.
Install the Right Pedal (Drive Side): Start by threading the right pedal into the drive-side crank arm by turning it clockwise. Use your fingers to insert and then a wrench to tighten it securely. Be careful not to cross-thread the pedal, as this can damage the threads on both the pedal and the crank arm.
Install the Left Pedal (Non-Drive Side): The left pedal is reverse-threaded, so you'll need to turn it counterclockwise to install it into the non-drive side crank arm. Again, use your wrench to tighten it securely.
Check Tightness: Once both pedals are installed, give them a final check to ensure they're tightened securely. They should be snug but not overly tight.
Test Ride: Before riding, do a quick test by spinning the pedals with your hands to make sure they rotate smoothly and there's no wobbling.
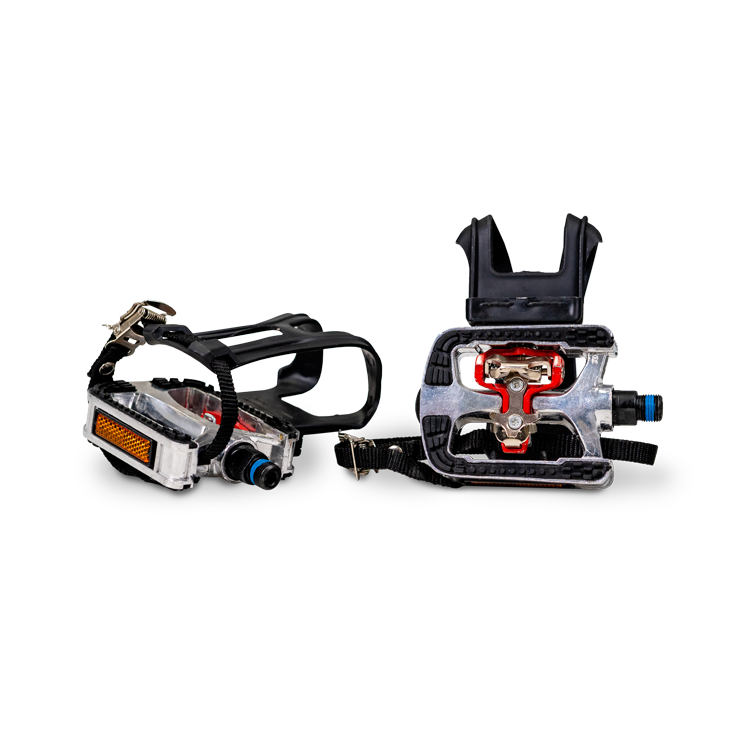
Yes! We sell clip-in pedals that can be swapped on your bike.
Our crank arms are compatible with standard pedals with a 9/16 inch axle.
Our clip-in pedals are specifically designed for SPD clip shoes, providing a secure and efficient connection between your shoes and the pedals. This allows for better power transfer and a more controlled ride.
Additionally, these versatile pedals can be used with spinning shoes or even regular shoes. One side of the pedal features an SPD clip, perfect for your SPD clip shoes, while the other side has a toe cage, which can accommodate any standard athletic shoe. This dual functionality ensures that you can enjoy a flexible and convenient riding experience, whether you're in a spin class or out for a casual ride.
Pairing your heart rate monitor is quite straight forward:
*** Please note that the bike is currently tested to work with our own Heart Rate monitor. If you wish to use your own heart rate monitor or any other Bluetooth / Ant+ devices, the compatibility is not guaranteed. ***
Our S2 magnetic bike allows for the seat and handlebars to be adjusted not just vertically but horizontally as well! This allows for a wide range of user heights to find a perfect fit!
Our S1 friction seat can be adjusted vertically and horizontally, however the handlebars can only adjust vertically (up and down).
In almost all cases, the nuts need to be tightened even more.
Although the seat nuts may already seem quite tight, they will need to be even tighter-- as tight as you can get them with a full size wrench. Make sure to tighten the two nuts evenly. This is very important.
One more important detail: the seat clamp must be pushed all the way down onto the seat post. If the clamp is not fully engaged, then the seat will never be secure, regardless of how tight the nuts are.
I will include a video below created by SixThreeZero, that explains how to tighten the seat using a wrench and ratchet. Though the video is for an outdoor bike, the concept is the same.
https://www.youtube.com/watch?v=WXRD0o2r0XU
There are many reasons why the calories may not be as accurate as a fitness watch. These factors include:
Given these factors, it's essential to interpret calorie estimates from cycling trackers with caution and use them as rough guides rather than precise measurements of energy expenditure.
Creating a ticket is the fastest way to resolve an issue.